Reading Time: 16 minutes Literally, we’d shoot on VHS. If I had four hours of raw video, it took four hours to feed it all into my editing machine, as I had to play it real-time while my hard drive recorded it (like a VCR).

Perfection is a cruel mistress with an unforgiving chase. Quality is attainable company, and a much more rewarding investment.
I started this journey back in 2008. Well, technically I started it in ’07, but the fine folks at YouTube decided to delete my original channel back then because I posted a video of a boxer walking to the ring and asked if anyone knew the song he used for his entrance. Heh, yes. That was YouTube then. I reorganized in April 2008 under the name lordkayossrippro which was a portmanteau of sorts for the pseudonym Lord Kayoss and a “brand name” I made up on-the-fly called R.I.P. Productions. I never copyrighted it, though back then I probably told people I did. Luckily, YouTube ended up allowing us the ability to change our channel urls. It’s much easier to direct someone to youtube.com/lordkayoss.
Despite having been a video production hobbyist for years by that point, in 2008 I was still fairly new to digital editing, and producing videos using computer equipment was a craft I had much to learn about. Coming from the analog world of VHS tape and basic consumer-level hardware, I had a daunting task ahead of me in making the transition to digital. Fortunately, my desire to create was strong enough to will me through the frustrations brought on by the repetitive trial and error of self-teachings. For every fist-slam on the desk there was at least an educational seed planted that would marinate in my mind and inch me in the direction I wanted to go.
 My first round of equipment in this process is something to behold 15 years later. I had all the inspiration in the world and the drive to put it to work, but lacked sufficient equipment to get within a mile of capturing what I’d see in my head on video with visual accuracy. I’d have these grandiose ideas and vivid pictures swirling in my mind, but by the time they passed through the degradation filters of a VHS camcorder and an obsolete computer running subpar editing software, the end result was often disappointing. Literally, we’d shoot on VHS. From poor lighting quality and horrible (NiCad) battery performance to the limited storage confines of VHS, the process was a total chore. Packing several extension cables in hopes of finding an exterior power outlet on outdoor shoots was not only necessary, but detrimental. In extreme cases I’d even resort to plugging into an inverter that was connected to my car battery. If we shot more than two hours of raw video we had to change out the tape and start a new one. When filming wrapped, if I had four hours of raw video, it took four hours to feed it all into my editing machine, as I had to play it real-time while my hard drive recorded it (like a VCR). That’s a ton of extra work for 480 resolution.
 My main computer back then was a Gateway 5200XL armed with a Pentium 4 processor and 2GB of RAM connected to a single 16″ monitor. The hard drive capacity was a mere 80GBs. Putting that in perspective in 2022, just a couple nights ago we shot material for the upcoming Michael Myers Halloween Kills Full Costume Showcase video and banked over 87GBs worth of raw 4K footage. I wouldn’t have been able to move this project into post at all using that old drive, but for the sake of conversation let’s just say I was able to transfer all of it over and endured the tedious hell of actually completing the post work on that machine and dared to hit render…. I probably would’ve been waiting for it to produce a finished mp4 for a couple years. That thing could barely handle low-end HD by the time it was nearing the end of being my main editing station, struggling to render relatively short videos at 720p at 30 frames per second. It would stall out during editing, and I’d have to sit and wait for it to catch up before I could resume cutting. I can’t imagine what 4K/60fps would do to that poor processor and 128MB graphics card.😬 I leaned on that machine way longer than I should’ve. But, it worked, albeit with a variety of headaches. It at least gave me the ability to edit and render videos, which is what I needed to create content. Very rarely have I ever uploaded a video that wasn’t post-produced in some way. To me that’s like sketching an image for a painting, but not adding any color.
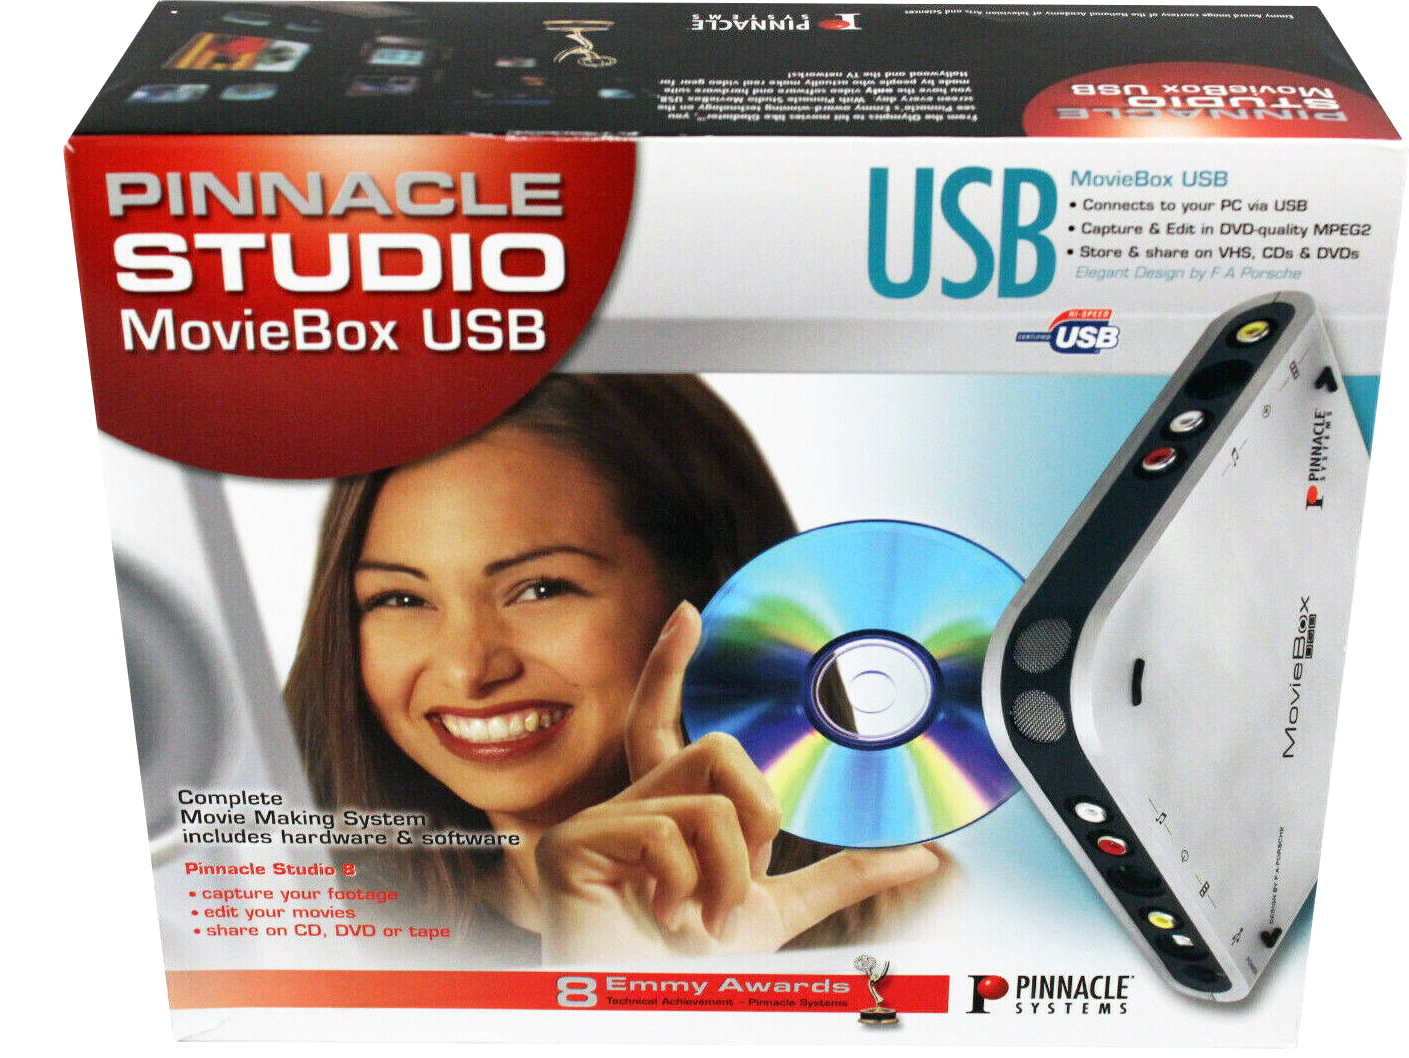
My editing software was an early version of Pinnacle; a bare-basic production program that could handle video splicing, transitions, text, and voiceovers. Not much else. Ugh… seeing that smiling chick on the front of the box brings back these primitive feelings of mediocrity. The memories I have tied to that old software are sort of akin to the way most people feel when they reflect on their first car. It started. It ran. It got you there. But ewww, I kinda want to keep my head down so no one sees me.
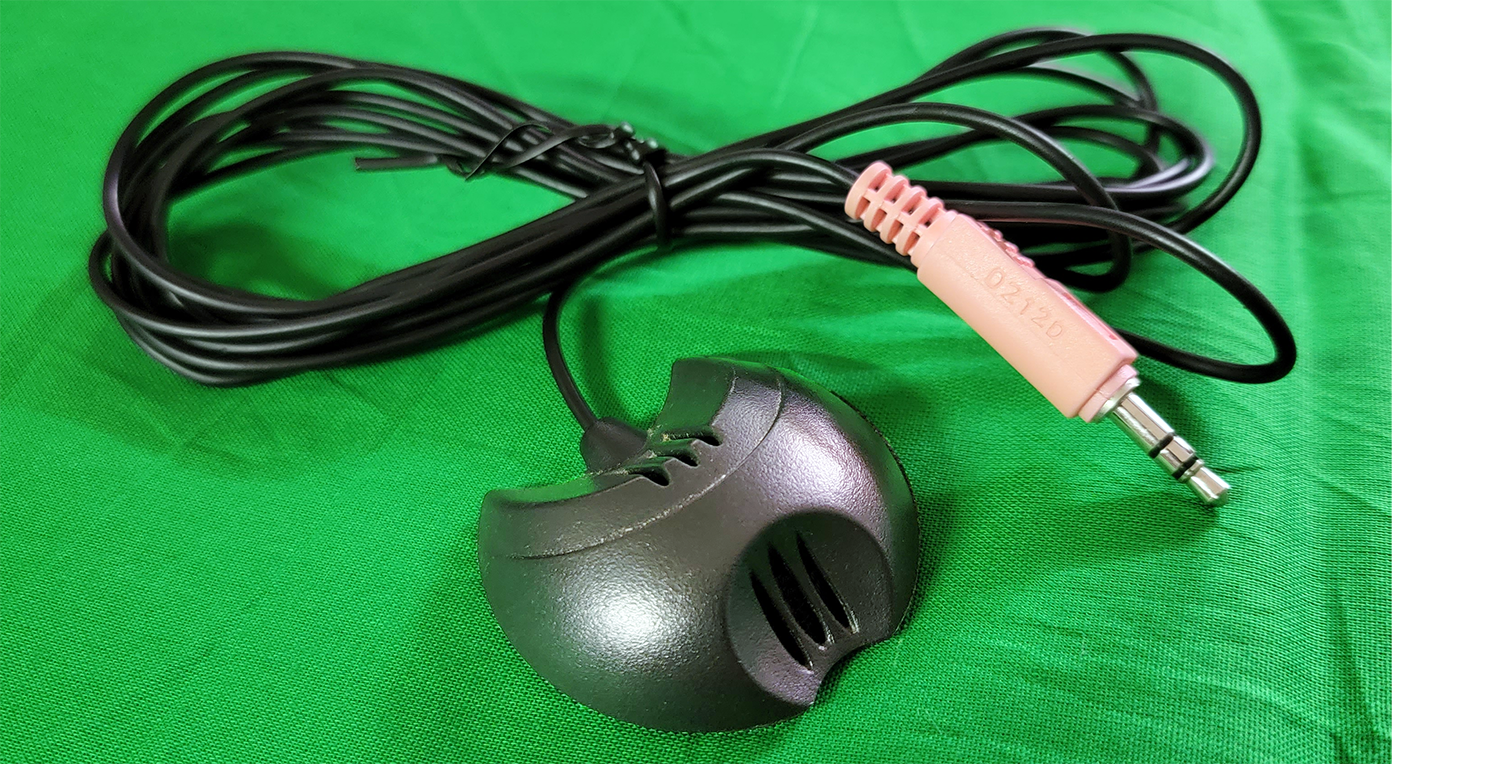
My voiceover mic looked like a cat toy. Some cheap piece of plastic at the end of a squiggly wire that resembled sewing thread. It came with my 5200XL and I can’t imagine it cost Gateway more than a couple dollars to make. What’s funny? This was my YouTube mic for five friggin years. It’s hard to fathom now, but at that stage of my life and limited digital expertise, my ears weren’t tuned for the intricacies of specific audio elements like they are now, which basically means while still far from perfect, my ears couldn’t recognize pure sh*t the way they can today. Any time I land on one of those old videos on my channel I’m kind of aghast at the quality levels that were acceptable to me back then. But, at the time, it was either use this mic and the built-in Sound Recorder on Windows XP, or go voiceless on the videos.
Here’s a raw voice sample from that generic Gateway mic that I can’t find an ounce of info for online to save my life. It’s like this thing never existed. But unfortunately, I’ve got vocal proof that it did. This audio is from the original review/playthrough I did for Friday the 13th on NES way back in 2008. It also happens to be the first video I ever made for YouTube, so I was surprised I still have these raw voice files after all this time. Being able to post a sample with no background audio from the final cut makes it a perfect example to show just how crappy that microphone is.
Ugh.
Thus, this was my setup to introduce Lord Kayoss to the online world. Shoddy as it was, I could get by with this stuff as long as I was producing in SD. But in 2007, HD was starting to become the standard and my hardware limitations were holding me down. Many of my most lucid inspirations in those days turned out to be mere illusions that were lost due to incapability to properly create what I imagined.
In 2009 I began to make some changes. First and foremost, I needed real video production software. Enter; Sony Vegas. I discovered this program via a co-worker at an I.T. job I spent a few years at, who also happened to be a fellow aspiring videographer. We were talking video one day and I asked him what editing software he used. He replied “Vegas”, and that’s all I needed to hear. I researched the product, got my hands on a copy, and have been using it ever since. Honestly, looking back…. that was probably the one positive thing I could say I took away from that job as I reflect all these years later. I spent three years with that company and this is the lone silver lining, as I was able to take something with me that’s been a helpful part of my life since. Thanks, Justin.
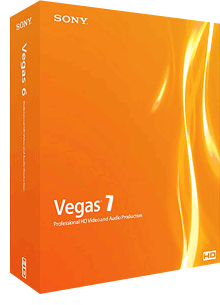
Sony Vegas, even in this earlier version, was a quantum leap over Pinnacle Studio 8 in every conceivable way. The multiple doors to better production value that were swung open with this upgrade were substantial to say the least. The problem? Now I had a brand new program to learn. Thank goodness for online tutorials! The first video we made using Vegas was the A Nightmare On Elm Street review/playthrough for the NES, which is one of the main reasons the damn thing took so long to finally come out after the little teaser video I posted some nine months prior. That project was littered with problems, with one of the biggest issues being learning Vegas enough to get what I needed in post-production. It was difficult, but we got there. Though heavily dated by modern standards, it’s still one of the projects I’m most proud of to this day. Remembering all the problems we encountered during the making of it, and how many times I wanted to scream and burn the whole thing to get it out of my face…. yeah. That one was satisfying to complete. That video also marked the end of the VHS camcorder era (hallelujah). I finally had enough of the low light issues and poor battery performance during shooting, and I was absolutely sick of having to feed all the analog footage into my computer real-time. A camera upgrade was long overdue.

I picked up the Sony HDR-XR500V in 2009 and it was the best acquisition I had made since starting the channel. This badboy wound up being my main workhorse for over a decade. Though I’d still be shackled by that old Gateway PC for a few more years, I could only shoot video on the Sony in standard-def, but still… the entire experience was leaps and bounds better than what I had been used to with the RCA VHS camcorder. The XR500V had much better lighting capability, great battery performance, could shoot beautiful video (even in SD), and transferring the files to my editing machine was a breeze. The native MTS files opened right up in Sony Vegas without the need for conversion or special codecs. Those novelties made principal photography a total delight from start to finish. Of all the hardware I’ve owned throughout my life, I can easily put this Sony handycam at the top of the pile in terms of performance and reliability. It’s now been 13 years since I got it, and it’s still working like a champ.
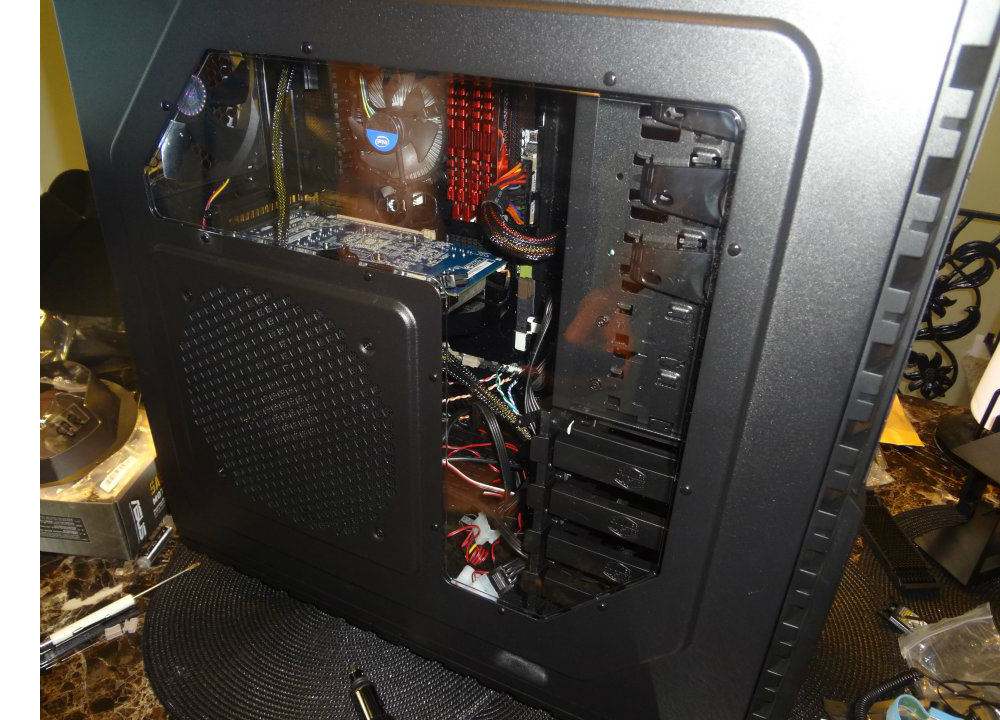
By summer 2012 I needed some serious PC muscle, and this custom build was it. I remember that project well. I made a commitment that I’d raise the money for the hardware by selling some of my excess junk on eBay. Took around six weeks if memory serves, but it all came together in the end. I sold off a bunch of stuff that had been sitting in my basement for years and got everything I needed for the new build. Finally, some real processing power! Sporting an Intel quad-core Ivy Bridge processor, 32GBs of RAM, and a 4GB/256-bit video card, I was finally ready to shoot the Sony XR500V at full capacity. I believe I had also upgraded to Sony Vegas Pro 11 by then as well, so editing on that machine was a snap. This big production change literally coincided with the beginning of a new era on the channel, as the first video we produced in full HD with the new gear was the Jason Friday IV Hood & Hockey Mask Screen Test. This was when I had began my journey into the indy cosplay circuit and was ready to upgrade my costumes to the best quality I could find. In previous years I hated it when I’d want horror-faves like Jason Voorhees, Michael Myers, Freddy Krueger, etc, to show up in video projects, but only had what I’d call Rite Aid-quality costumes to use. 2012 was when I started investing in premium cosplay and studio-quality props/weapons. To quote Mr. Krueger: “….and that’s when the fun really began.” 😈
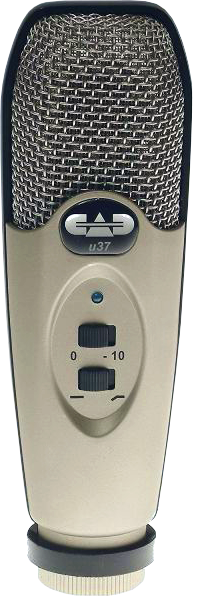
Now that my camera, computer, and editing software were all upgraded, it was finally time to fix that voice input. My little cat toy Gateway microphone had long since outlived it’s usefulness and was in dire need of being replaced. I wanted something good, yet simple plug-n-play that I didn’t have to tinker with too much. Many of the reviews for the CAD u37 mic praised it’s quality, with one in particular stating something to the effect of “this is probably all a non-professional will ever need in a mic.” Being more of a prosumer-quality chaser, that sounded fine to me. I ordered the mic along with a pop filter and JamStand, and have been using this setup ever since. The first video I used the new mic for turned out to be my most successful to date; A Night to Remember 1958 vs Titanic 1997, and had I known it was gonna garner some 4½ million views, I would’ve taken some more time to practice with that thing before making it. I was in the midst of a vocal transition at the time… training myself to talk a little slower and a bit softer when I know I’m being recorded. Basically, to be more myself rather than this character I had sort of portrayed in previous years. Lord Kayoss was more of a persona during the first five or six years into my channel. Not sure why I felt the need to do that, but over time I began to drop the gimmick aspect of it (while leaving the familiar visual intact) and present my content the same way as I would show it to my friends and family. This felt much more natural and comfortable. By the time I made my second Titanic video, roughly a year later, I had gotten a pretty decent feel for the way I wanted to speak to you moving forward.
Here’s a new voice sample using the CAD u37, speaking the same Friday the 13th video lines from above. If I could go back and do that project over, it would sound like this.
Acceptable.
My little unboxing era kicked off in 2015 with this Jason Hockey Mask Unboxing, and right away I took note of a couple areas that needed immediate improvement, production-wise. First and foremost, all live-action audio is being picked up by the stock mic on the Sony XR500V camera we’re shooting with. From a casual perspective it isn’t terribly bad. But, fundamentally speaking, the level of noise that comes in with a stock mic is vocally stifling and makes the speaker almost sound like they’re talking from another room. I was irked by this as soon as I got the footage in post. I needed an immediate audio upgrade.
In the past I had used the Sony ECM-HW2 Wireless Mic a few times and was always annoyed by it. The sound quality was a definite improvement, but the design of that thing made it a bulky inconvenience trying to conceal. It was too heavy to simply clip it on your shirt without noticeably weighing on it and pulling at the fabric, forming a crease that could easily be seen on video. The mic was also overly sensitive and I found it virtually impossible to get it in the right position where it wasn’t picking up a rustling noise of either my shirt fabric moving around on it, or the sound of me breathing, etc. I ended up attaching it to a string and wearing it around my neck to keep it off my shirt and the mic itself far enough away from my nose and mouth where it wouldn’t pick up my breathing. Total hassle, and it wasn’t something I was considering as an option for these new live-action unboxing videos we were about to do.
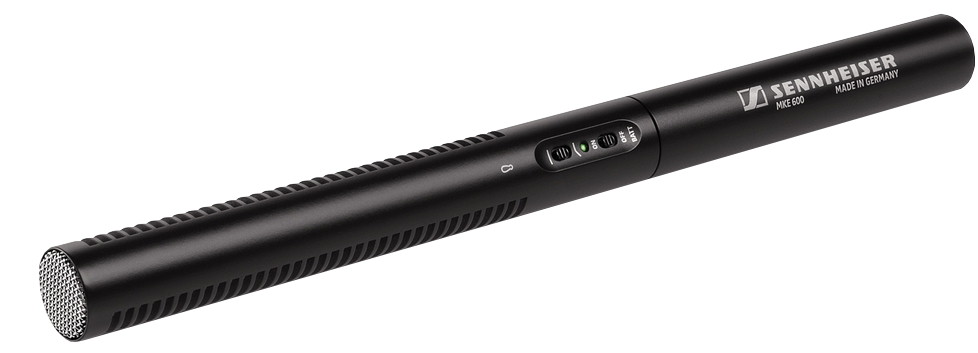
Instead, I opted for the Sennheiser MKE 600 Shotgun Microphone. Mounted on the camera and pointed directly at me, it gave me the audio boost I was looking for. The first video I used it for was the Jason 8 Costume Unboxing. Note the sound difference between that and the Jason Hockey Mask Unboxing video. It brought my voice to the foreground which is exactly what I was going for. Granted, at the time my ears weren’t exactly tuned to the level of noise that often times came with it. That aspect wouldn’t improve until I began to attack it with Audacity’s noise removal tool, and later I’d use the more advanced utility in Reaper (and still do). Nonetheless, that Sennheiser came in very handy at several production ends. When I eventually branched off into some independent videography contracting, I’d always have the MKE 600 in tow. I used it in shooting live events, presentations, interviews, weddings, etc, and every live-action YouTube video of mine from April 2015 to present day has had its audio captured by it.
I liked it so much that I agreed to do a paid promotion for Massdrop a few years ago. I get these requests from different companies from time to time and usually turn them down. I don’t fancy the term “influencer”, especially if I’m asked to tell you why you should buy something I’ve never even heard of, let alone actually used. But, when Massdrop mentioned Sennheiser I was on board. I needed a gaming headset for PC anyway, and I knew after I had some time to test out the PC37X they sent me that it would be quality-made and worth the investment for any buyer. I still use that headset today and was happy to vouch for it.
I had picked up a DJI Phantom 4 Pro drone in 2018 to assist in some of the videography contracting I was doing, and it didn’t take long for me to find a use for it for something YouTube-related. Learning how to use this thing was a lot of fun. I was nervous at first. I think I had only ever flown a remote toy helicopter once in my life, so the prospect of being responsible for this expensive piece of equipment I didn’t know much about operating was a little intimidating. Feeling like one wrong move would flush $2K down the drain in an instant made my stomach quiver. But, the learning curve wasn’t bad. This particular drone has obstacle avoidance sensors that stop it from crashing into things. The remote control has the feel of a big video game controller and feels right at home in my hands.
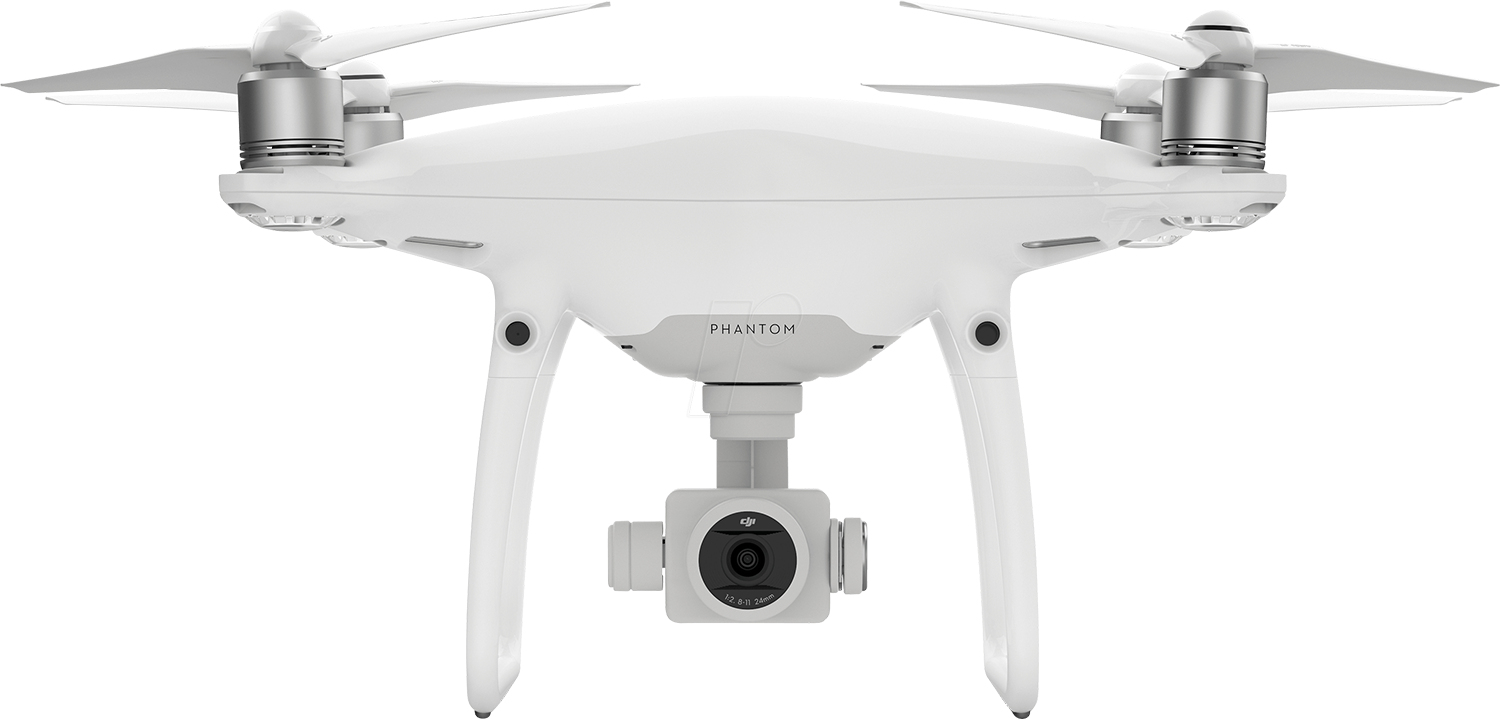
When we were putting together the video for the Halloween II Michael Myers costume, I wanted to get a nice tracking shot of Michael’s glide walk, and the drone was so smooth to use. It provided the same effect that would normally require a track or crane rig (and a crew to build and operate it). Came off pretty decent considering I was so new to using it.

Aside from the drone and a couple upgrades to my PC rig along the way, my production setup remained largely the same from 2015 up until just last year. I had been looking at 4K camcorders for a while and almost pulled the trigger on the Sony XDCAM PXW-Z150, but ultimately I decided that would’ve been a bit overkill for the things I’d normally be doing with it. Dropping $3K on a camera I’d primarily be using to shoot myself playing video games, unboxing things, cooking, and making the occasional short-film to show off a costume didn’t feel like the most economical choice. So, I bought the Sony FDR-AX700 instead. My old trusty XR500V is still kickin’, but video technology is always improving. It wasn’t until I started editing on a 65″ 4KTV that I realized my stuff was looking dated by contemporary standards, so it was time to make a change. The AX700 has been up to the task and doing a fine job. It made its debut on the channel in October 2021 for the PS4 Controller Battery Upgrade video, after a failed TMNT cereal experiment cancelled the original July video (we’ll be revisiting that project soon).
So here we are, present-day. It’s early 2022 and I’ve been noticing something during the editing process that’s raised a brow. The audio sounds a little off to me in the live-action videos. At first, I was nearly convinced the MKE 600 shotgun was declining. But, after doing a test take and comparing that to the first audio we ever recorded with the mic, nothing’s changed. The new audio sounds exactly like the recording from seven years ago, so I guess it’s my ears? At any rate, I’m looking to make another audio upgrade for the live-action stuff. After doing some research and using the process of elimination, I’ve settled in on trying a lavalier mic. I tested a RØDE smartLav+ when I was figuring out an audio source to use for the Phantom 4 Pro. ‘Didn’t like it at all. Granted, I only tested it on my smartphone at the time, but the results were so unsatisfactory to me I couldn’t imagine a substantial improvement using a different recording device.
Here’s a voice sample of the RØDE smartLav+ mic, clipped onto my shirt collar. I was outdoors with calm air/no wind, and still had to boost the volume 10 dBs in post.
Bleh.
I sold the mic on eBay and moved onto a different option.
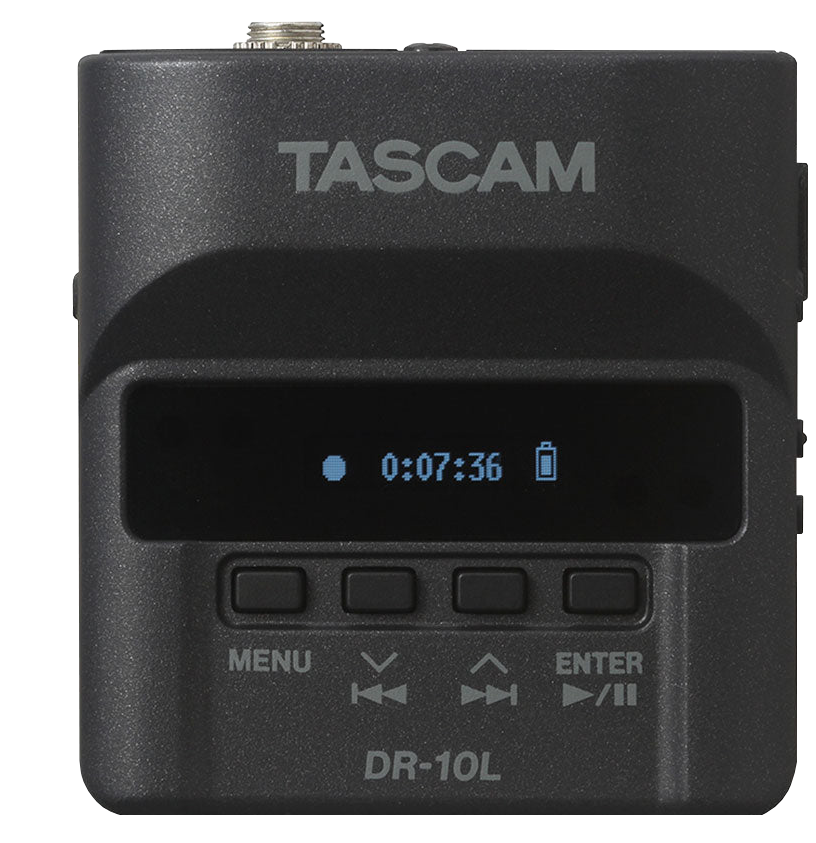
Back to the YouTube channel, I decided to try the lavalier option again. The brand was an easy choice; I bought the Sennheiser ME 2-II along with a Tascam DR-10L Audio Recorder. The Tascam is a handy little device that clips onto your belt and has a locking port for a 3.5mm mic. It also has the ability to make a second simultaneous recording at -6db, in case the volume input you select for your primary recording is too loud (love this). That’s a great little insurance option if you don’t have someone monitoring your audio levels while speaking on camera. If your input volume setting is off, or you just talked louder than you intended, the device saves a secondary file of the same recording at 6 decibels less than the first one. That could potentially save the entire shoot if there’s a problem no one is aware of while you’re live.
The Sennheiser ME 2-II was a major improvement over the Rode smartLav+, but still sounded a little muffled to me. I did several tests with it recently and concluded I needed to take another step up. Here is a raw voice sample test on the ME 2-II with the mic clipped to my shirt a little below my collar bone.
So-so.
It feels like we’re knocking on the door with this one, but still not quite where I’d like to be. I hear a thin layer of mud between me and the mic, and tinkering around in post didn’t improve things. I went ahead and returned this one to the nice folks at B&H Photo who were kind enough to refund me even outside the 30-day window. I already had my next lav mic targeted, and wasted no time in scooping one up as soon as they got restocked.

I picked up the Sennheiser MKE 2 Gold lav mic from B&H and it arrived here in just a few days. I was surprised by the quickness in processing/shipping and delivery. Now is as good a time as any to give a big shout out to B&H Photo. These guys always seem to get the job done with no questions asked. Their prices are always competitive, shipping is often free, and unlike Amazon, you can rest assured the item you buy is going to be the legit name brand and sealed up new in the original factory packaging. Great company to deal with.
Back on topic, the MKE 2 Gold lav mic is a tiny little thing with a delicate feel to it. Hard to believe there’s a heavyweight mic packed into such a small body. I was eager to give it a try and got a chance to do just that earlier tonight. Here’s a raw voice sample with the mic clipped to my shirt collar.
Better.
Definitely a step in the right direction. I’m gonna test it a bit under different settings on the Tascam and see what produces the best results. I’m thinking I’ll hold onto this guy. ‘Might even give it an inaugural run on the next live-action video we shoot. It feels like it’ll be up to the task.
In all this talk about equipment as I’ve reflected on my YouTube timeline you’ve probably noticed my we references. I’d be remiss if I didn’t acknowledge and praise the most helpful part of this entire equation; my wife. If there’s one thing I recommend any content creator have, it’d be a dedicated production assistant. She’s been with me the whole way, and my channel wouldn’t exist without her. Definitely not in the form you know today. It’d be something completely different, stationary, and likely boring. Thank you, Hunny Bunny. 💖
I’ll wrap up here. This has been a bit of a deep dive to write and revisit parts of our YouTube journey that is technically 15 years running now. I’m sure there will be more to write about down the line. I hope this information helps someone along their creative path.
~LK


")
