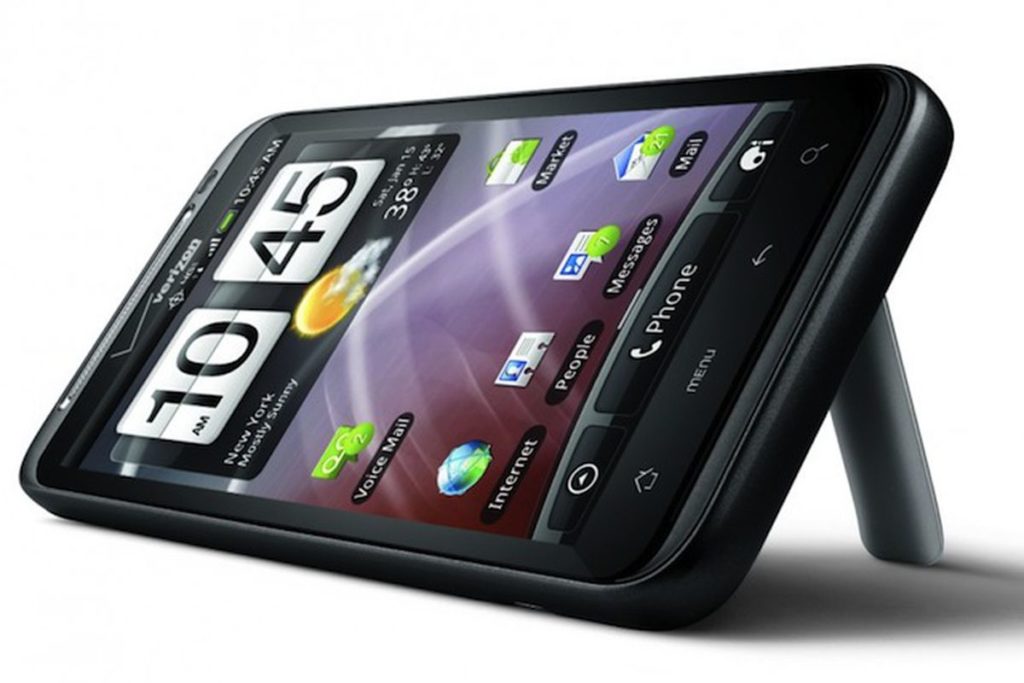
Reading Time: 3 minutesI have to say the process for cracking HTC’s most locked-down phone to date isn’t nearly as difficult as some of the online walkthroughs may have you believe. Contrarily, the process is fairly simple when you follow directions and understand exactly what you’re dealing with.

Got the Thunderbolt this week and have been hard at work researching and familiarizing myself with unlocking and rooting. Those of you who follow my Twitter page saw that I successfully rooted a couple nights ago. And, I have to say the process for cracking HTC’s most locked-down phone to date isn’t nearly as difficult as some of the online walkthroughs may have you believe. Contrarily, the process is fairly simple when you follow directions and understand exactly what you’re dealing with. Since there is no (and likely won’t be a) one-click root method by unrevoked due to the complexity of this phone, the process is broken down into multiple steps that involve using ADB Shell.
After thoroughly reading the official guide on xda’s forum, I began with nat3mil’s youtube video, How to Root the HTC Thunderbolt, Setting up ADB – Step 1 to familiarize myself with ADB Shell and make sure I got the correct drivers for the Thunderbolt set up. The walkthrough nat3mil provides is thorough and very easy to follow. I hacked the driver file to read the Thunderbolt, and moved on to his second video, How to Root the HTC Thunderbolt – Version 2.5. In this walkthrough, nat3mil shows you step-by-step how to crack the seal on the Thunderbolt and root. As advised on xda, I decided to keep the official guide pulled up as a fail safe fallback if something explained in the video didn’t make sense or differed at all from what they recommend. I was pleasantly surprised that there was only two instances when I questioned the video.
The first was during the temp root downgrade, right around the 5:23 mark. To save time, nat3mil transitions from the SD card reading the files and jumps straight to the update complete mark where you restart the phone. What he fails to mention is that his transition skips the step of H-Boot restarting before the actual update installs, which left me wondering if I had done something wrong or if I should go ahead and reboot the phone as he advises. Thankfully, H-Boot reads the SD card a second time and THEN proceeds to install the update after which you restart the phone. I point this out because it left me a bit confused for a second. If I had gone ahead and restarted during the short interlude I might’ve bricked my phone. I’m not sure if this happens every time or if it was an incident isolated to just my experience. Either way, be advised it could happen and if so continue to wait it out until H-Boot actually tells you the update is complete and gives the option to restart. DO NOT pull your battery thinking you messed up and this will restart the process for you — BRICK.
The second slight discrepancy occurred for me around the end of the process when you confirm the write on the new bootloader, just before step 7 on the guide which is flashing the upgrade rom. The guide specifies to reboot the phone at this point, but nat3mil doesn’t in his video and things seem to be fine (I chose to reboot anyway).
After completing the final steps I gained root access and S-OFF. And immediately I went to one of the areas in town where 4G already is for a side-by-side comparison with 3G speeds.
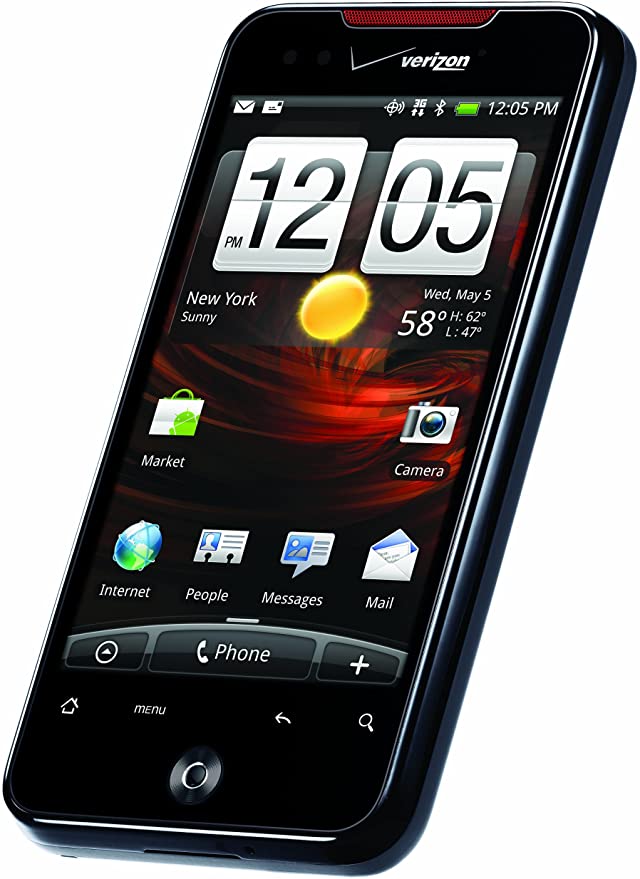
I ran the 3G speed test first on my fiancee’s Droid Incredible…

Speeds are just under 1MB. And you gotta love the ad there, lol.
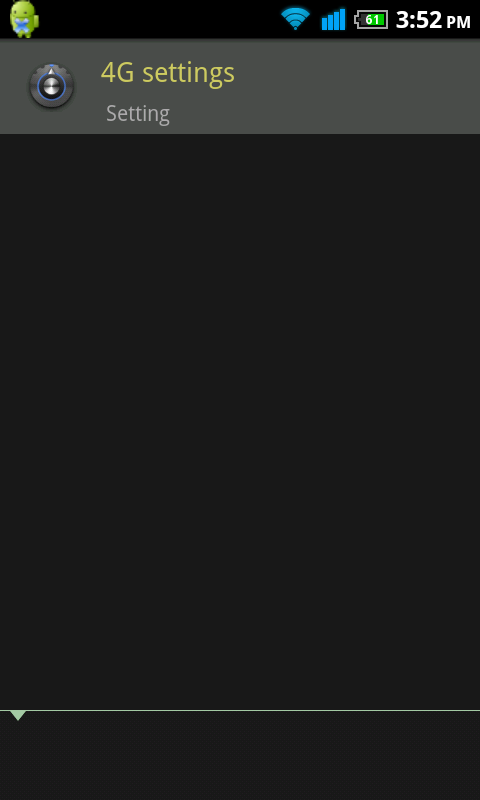
Next, I ran a test with the Thunderbolt on the 4G network…

Speeds averaged over 4.5MB down, and over 4MB up. Nice.
And I see that Google ripped the Wireless Tether app off the Android market. That and HTC further locking down their phones is solid testimony that Verizon doesn’t want you tethering without them knowing about it (and charging you). After you root, head to code.google.com to find the latest version of WiFi Tether. Install apkinstaller from the android market and you’re all set.
Holy sh*t! I just realized Emilio Estevez is now following me on Twitter! SWEET!
Anyhow, once you’ve installed WiFi Tether via apkinstaller (or otherwise) you’re ready to rock 4G with any internet device you choose. You can also still find Barnacle on the droid market (if they haven’t killed yet). But, I dig the original WiFi Tether personally.
So far, the Thunderbolt is proving to be quite the smartphone. I’ve ordered Seidio’s 3250mAh Innocell extended battery and custom case. I’ll probably be putting my rooted Incredible on ebay soon unless someone wants it. Shoot me an email if you’d like to make an offer.


Just wanted to say thanks for this blog and the links to the walkthroughs. Got my TB rooted and am about to drop BAMF on it right now. Thanks!
You’re welcome. That’s exactly why I do these write-ups. Glad to hear you got it rooted!
I truly envy (definitely no pun intended w/my crap phone) you guys with all the tricked out smartphones. I need to get with the program.
ok so I have a tunderbolt hacking it seems easy if I follow the step by step. But I would like to know a little more about what i can do once its hacked. I would like to maybe get free apps, or get apps to work like i guess netflix can work once hacked. Its kind of hard searching for it on google. free apps is not that big of deal just used it as an example.
Once its rooted you can tether for free without Verizon knowing and charging you their mobile hotspot fee. If you’re the type that likes to take a laptop on the go, having the 4G LTE signal to connect to is like carrying cable internet every where you go.
You have the freedom to wipe your phone’s hard drive and install custom operating systems, upgrade the phone’s radio to boost signal and speed.
Also, there are tons of apps that only work if your phone is rooted. Apps with cooler features that can access portions of the OS that can’t be touched when unrooted.
It all depends on what you intend to do with your phone. For me, rooting was essential. If you understand the process and are interested in exploring, try it and see how you like the extra freedom and features. If it doesn’t work for you, or if you ever need to take the phone in to be serviced, you can always unroot and restore the phone to its original settings.